

Here’s a vegan waffle recipe for the most demanding wafflenauts. Overnight natural sourdough fermentation, sugar provided by banana, and fat provided by coconut milk. Great flavor with a chewy crust and soft, moist inside.
This recipe is included in the revised and expanded Global Vegan Waffle Cookbook.
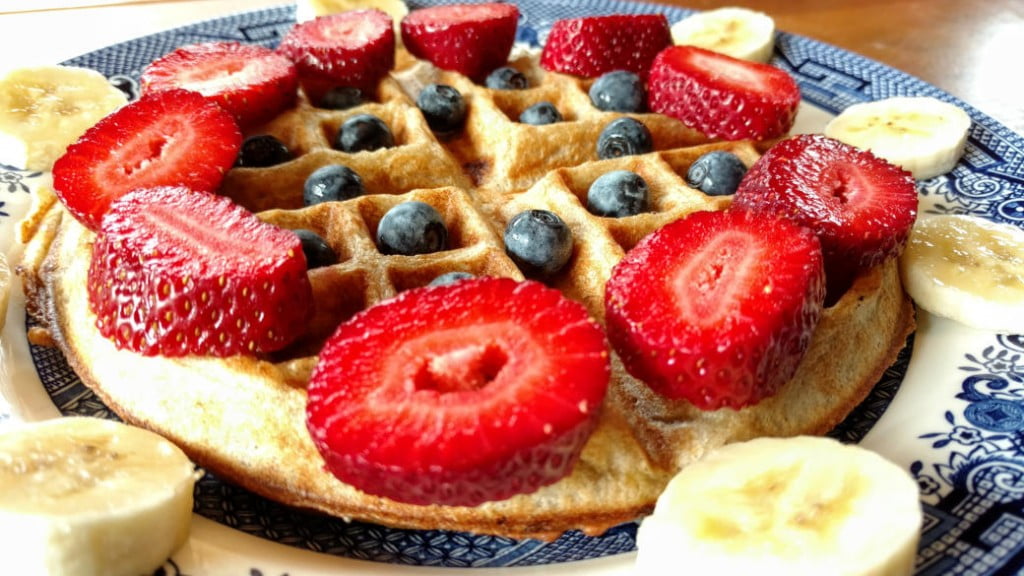
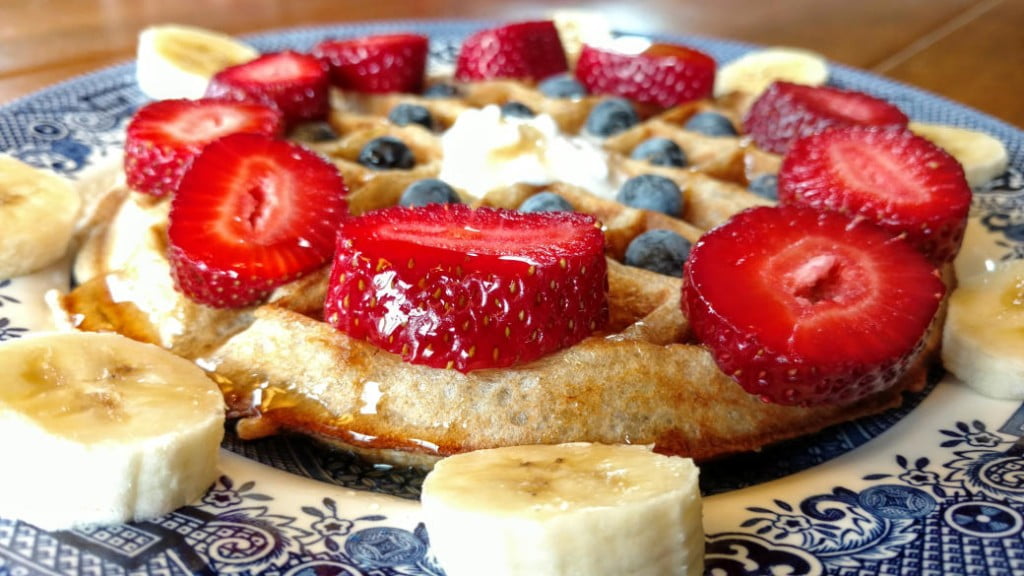
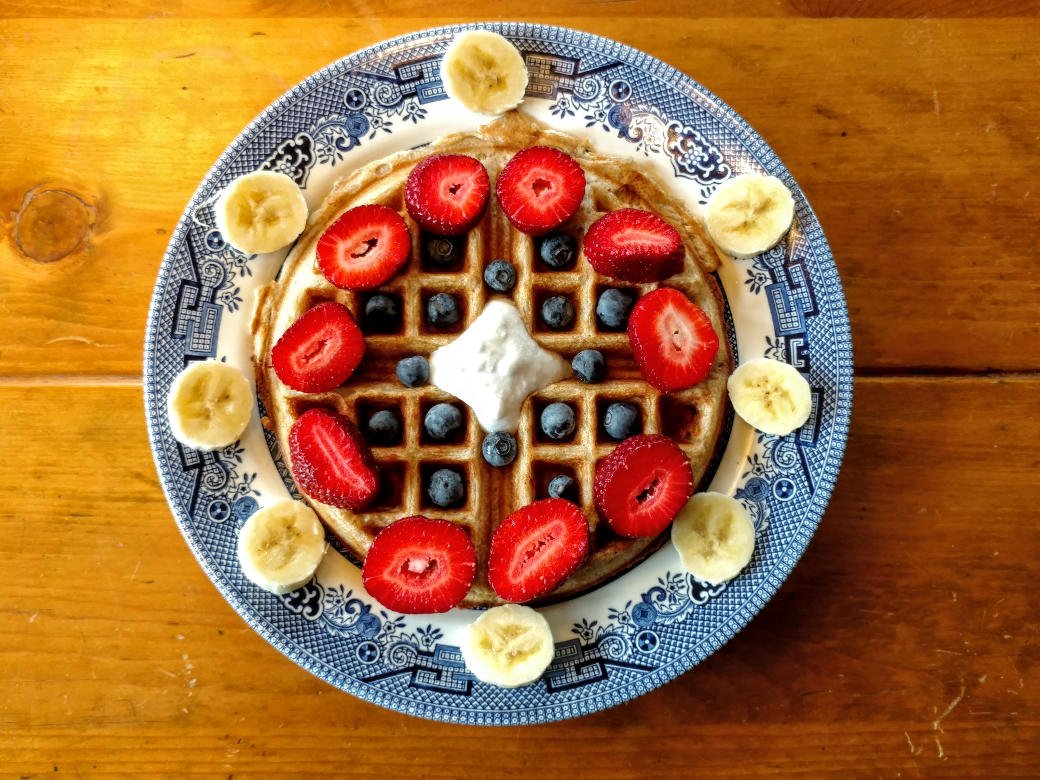
Look at how wonderfully the vegan sourdough waffle contrasts with the strawberries, banana, and blueberries. So exciting… Omigoshimgonnablow! I might have to bake these at our next waffle party.

They still use baking powder and baking soda to ensure fluffiness, and to take some of the guesswork out of the baking time. After you get up in the morning, you can mix in the remaining ingredients and be ready to bake vegan waffles within 15 minutes.
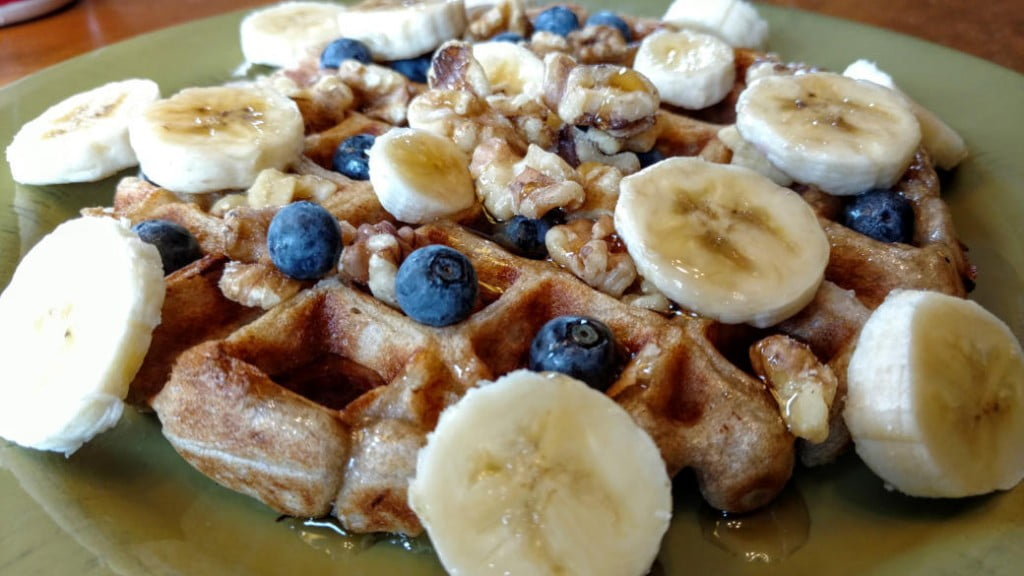
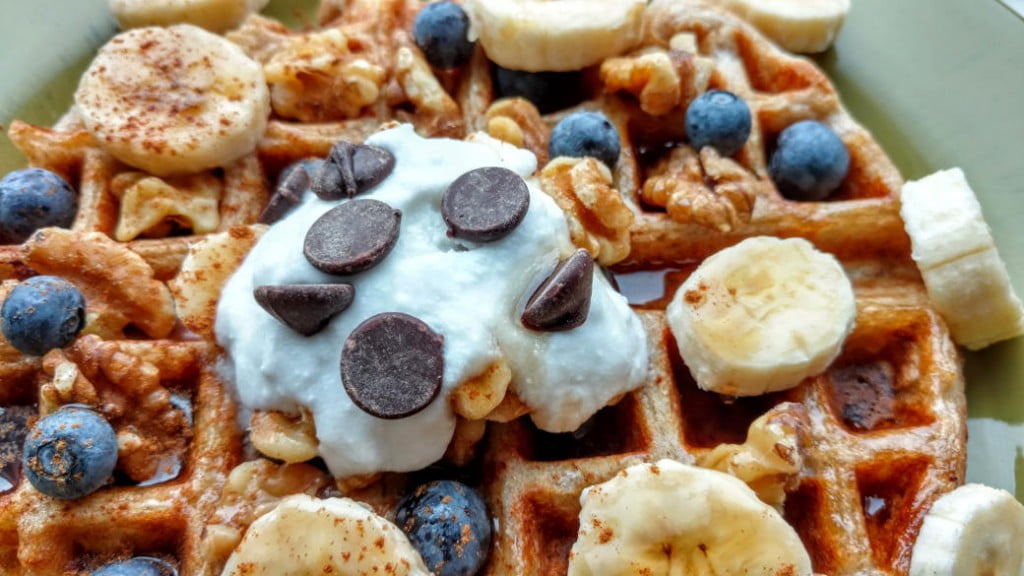
In fact, I got so excited that I took photos of them decorated with two different sets of toppings. I loooove coconut cream mixed with other toppings on waffles. And a thin sprinkling of cinnamon adds just a bit of warmth. You gotta have some chocolate chips, too.

There’s still much research to be done in this area, but some experts believe that natural sourdough fermentation can make certain nutrients from whole grain flour more available. Some believe it also makes gluten more digestable for people with mild or moderate gluten/wheat sensitivities. (Google “sourdough bioavailability” as a starter.)
I first got turned on to sourdough when Megan told me about Michael Pollan’s book Cooked. He talks in depth about the magic of fermentation in bread making. After we watched the documentary series based upon the book, I was all ready to create sourdough starter. And I knew that at some point, I’d want to make some vegan sourdough waffles. I had already gained practice with kombucha brewing, so I was confident I could do this without blowing up the kitchen.
Pollan’s thoughts really resonated with me. In relying so much upon pre-made food, we’ve become disconnected from some of our ancestral roots. Also, there’s something inherently political about preparing food that relies heavily upon microorganisms readily available in our environment. Sourdough merely uses yeast that are freely available in the air around us.
All you have to do is mix flour and water, let it sit for several days, add some flour and water every so often, and let nature do its work. How cool is that? It’s an inspiring act of independence. It’s also an act of interdependence–a simple reminder of how symbiotically we can exist with nature when we allow it.
Granted, waffles require a few more ingredients than a simple bread with flour, water, and salt. And unlike an old-school brick oven, waffle makers require some technology to produce and operate. However, the use of sourdough still brings us a step closer to the things above. And it gets us the delicious, mouth-watering results like you see in the photos.
If you don’t already have sourdough starter, check with a few friends to see if one has a well-developed starter. Maintaining sourdough starter often results in extra that must be discarded if it can’t be used or given away immediately.
If you want to create your own starter, all you’ll need is flour, water, and 5 to 7 days. I consulted the King Arthur Flour sourdough starter recipe to get the basic idea. I started with all-purpose flour as some other sites recommend for newbies, as it’s more predictable. The recipe refers to a “scant cup,” which is a cup minus 1 to 2 tablespoons, or between 7/8 cup and 1 cup.
I wasn’t exact with measuring out half of the starter each time before I added more, but things turned out fine for me. I used the starter to make a few loaves of bread prior to the waffles, and they were also quite delicious!
Breadtopia, the site where I found the amazing sourdough bread recipes, recommends a “pineapple juice method” for sourdough starter that I haven’t tried yet.
Time for another waffle zoom-in, again showing the coconut cream and chocolate chips, and some glistening maple syrup. Are you getting hungry yet?
If you don’t have the time to create or find a sourdough starter, or the willpower to wait several days before your first batch of waffles, check out some of the other yeasted vegan waffles that don’t require a starter.
I hope you give these yummerlicious treats a try. If so, I’d love to hear how they turn out. Also browse the site for other delectables and vegan waffle baking tips.
Vegan Sourdough Waffles
Ingredients
Method
- In a large bowl, mix together 1 1/4 cups of the water, all-purpose flour, whole wheat flour, sourdough starter, and salt. Cover loosely with plastic and allow to ferment at room temperature overnight, 10 to 12 hours.
- In the morning, mash the banana in a small bowl. Add the banana, coconut milk, remaining 1/4 cup water, baking powder, and baking soda to the fermented flour mixture in the large bowl. Stir vigorously with two chopsticks to break up the thicker fermented mixture, continuing until well blended. It’s fine if the batter is still slightly lumpy.
- Allow the batter to sit for 15 minutes. Preheat the waffle iron for 3 to 5 minutes, according to the manufacturer’s directions, while the batter is standing.
- Spray both grids of the waffle iron generously with oil. Pour or ladle the batter into the center of the iron, covering no more than two-thirds of the iron’s surface for the first waffle. Adjust the amount as needed for subsequent waffles. Bake each waffle for 3 to 5 minutes, or until it can be removed easily. Re-spray the grids generously with oil prior to each waffle.
My wife and I love this recipe. We use it for pancakes as well, not just waffles. We are WFPB. I don’t use coconut milk. Instead I make my own thick cashew cream. In the morning I substitute that remaining 1/4 c. of water with my cashew cream so, I add a total of 3/4 c. cashew cream in place of the coconut milk and water. Other than that, I stay with the recipe. Yum!
Randy, that’s wonderful to hear. Many thanks for letting others know about your experience, and for sharing your substitution!